
Hi 👋 My name is Nikki and I have been a working student with the team here at iPHA for the last year. I am currently completing my Masters in Energy Science and Engineering at the University of Darmstadt after completing my Bachelors in Mechanical Engineering at Virginia Tech.
Working at the International Passive House Association has been a wonderful opportunity for me to learn more about the Passive House Standard. However, I must admit that when I began, my general knowledge in the fields of architecture and building physics was somewhat lacking. That being the case, I was excited to get to learn more about the specific design qualities and building physics principles that go into the design of a Passive House building by taking part in the Passive House Designer/Consultant course at the Passive House Institute this past November. I’m hoping that by sharing my personal experience, you, as the reader, will also get an understanding of what kinds of skills and knowledge is expected of a Passive House Designer/Consultant. Perhaps it may even inspire you to attend a Passive House Designer/Consultant Course for yourself!
Course Prep
Prior to the course, we were given a rough outline of the schedule as well as some e-learning material to prep us for the kinds of topics that were going to be discussed as part of the course. The e-learning was very similar to the “Passive House Fundamentals” e-learning material provided by the Passive House Institute. It is a great resource!. Especially if you are like I was, starting from square one, with zero knowledge on all things architecture and building physics. After slowly making my way through the e-learning material, it was time to dive into the actual lectures!

Monday: Welcome, Introduction, and Building Physics
I was so excited to get started on the course, I showed up to the Institute nearly an hour early Monday morning. I was a ball of nervous excitement by the time I met up with my fellow iPHA coworker Carl, who would also be taking the course. After a short welcoming session, we were asked to introduce ourselves.
There were the expected participants – the architects and the civil engineers – and even some unexpected professions – the policymakers and physicians.
The other participants taking the course were even more diverse than I expected. There were individuals from South Korea, the UK, the US, Turkey, Indonesia, Romania, and a few other countries, with backgrounds that were just as varied. There were the expected participants – the architects and the civil engineers – and even some unexpected professions – the policymakers and physicians. The one thing we all had in common though? Our interest in Passive House. Reflecting back now, I am very glad that we had such a diverse group of people, as it led to many thoughtful questions and lively discussions during the course of the lectures.
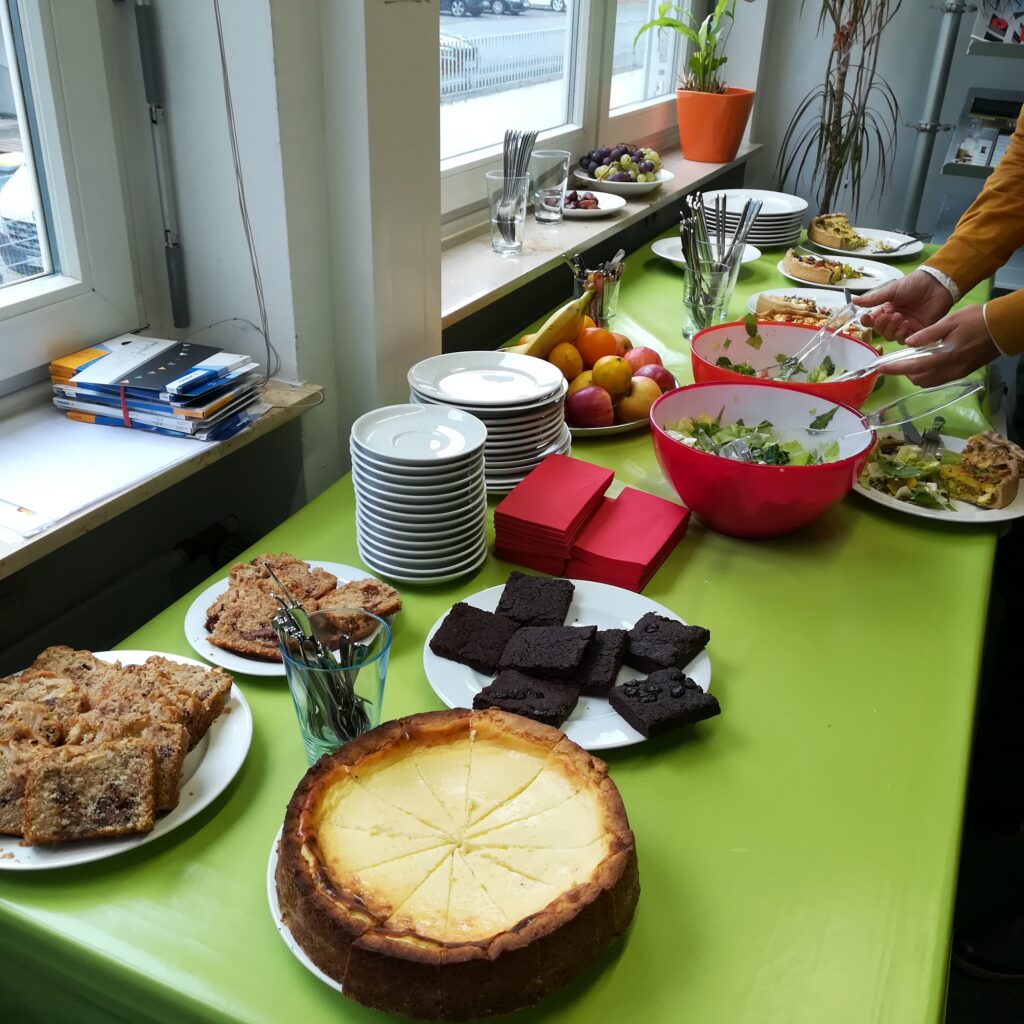
After introducing ourselves, we went through some introductory slides which addressed the question “What exactly is a Passive House” and “Why do we care about Passive House“? Soon enough, it was time for lunch. Lunch was provided every day of the course. I’d like to take a moment to give a shout out to my Passive House coworkers who organized the lunch and snacks – it was wonderful. I am – personally – very food motivated, so it was nice to have an array of options from cookies to crab apples to look forward to at every break.
After lunch, we headed back into the classroom and dove straight into building physics. Thanks to my background in engineering, I already felt quite comfortable with many of the concepts related to heat transfer. One thing – however – that I had not yet really encountered as part of my studies is the concept of a thermal bridge. Obviously, in my time at the International Passive House Association, I had learned that they were to be avoided, but I wasn’t really sure how one went about that, or how they could be calculated. I suppose I could have just taken the time to read and understand this Passipedia article… but I digress.
We then went on to talk about a topic with which I was even less familiar – Passive House Building Envelope design. The theory of it is easy to understand; In a Passive House building, you want a perfectly insulated and airtight layer to separate your internal living space from the exterior. The implementation of it however, is a tad bit more complex. Suddenly we are looking at cross-sections of walls and speaking in acronyms (EIFS, ICF. EPS, CIS… FML) accompanied by pictures of building sites and all I could think was, “I have no idea what I’m looking at!”
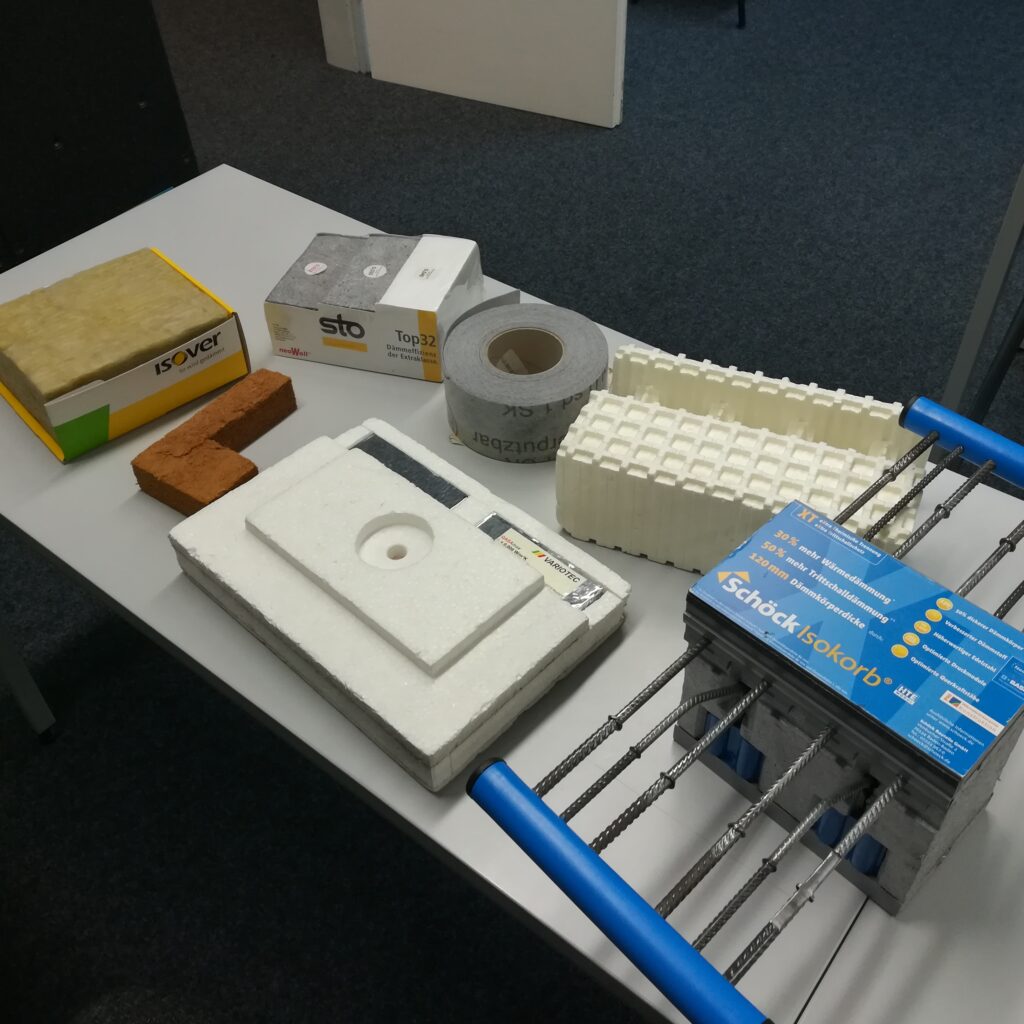
Having had very little experience in the building sector, I had never seen a lot of these insulation materials and construction systems before. Luckily, PHI has loads of samples and models, so not only did I have the opportunity to see these materials, but I was also able to handle them as well.
Tuesday: Building Physics and Windows
On the second day, we continued with building physics, with the topics centring around comfort, climate, and non-residential Passive House buildings. The morning went by quite quickly and it was time for lunch again. Lunch was always enjoyable for two reasons. One: the food was – again – yumtastic and two: It provided a wonderful opportunity to network and get to know these people with a shared interest in better buildings.
Something that was exciting for me, was being able to ask questions to the other international course participants. Everything I’ve learned about energy efficiency and common building practice, I’ve learned from the German perspective. Obviously, things are done quite differently from country to country, so the conversations we got into about the obvious and subtle differences between countries was enlightening.
I was continuously amazed at the way all of our lecturers were able to connect the lessons we were learning with everyday examples.
For example, windows – our next topic for the afternoon – are very different here in Europe vs the US. If you’ve travelled between these two places, you know what I’m talking about. The US has primarily double-hung windows, while the majority of the windows in Europe are tilt and turn windows. Obviously, the physics behind calculated gains and losses are the same. It just so happens that the Passive House windows look more like the tilt and turn windows, as the configuration is much more airtight compared to US ones (10-30 times according to this source.) Passive House windows, however, are the crème de la crème of tilt and turn windows. They are even more airtight and better insulating than anything else available on the market.
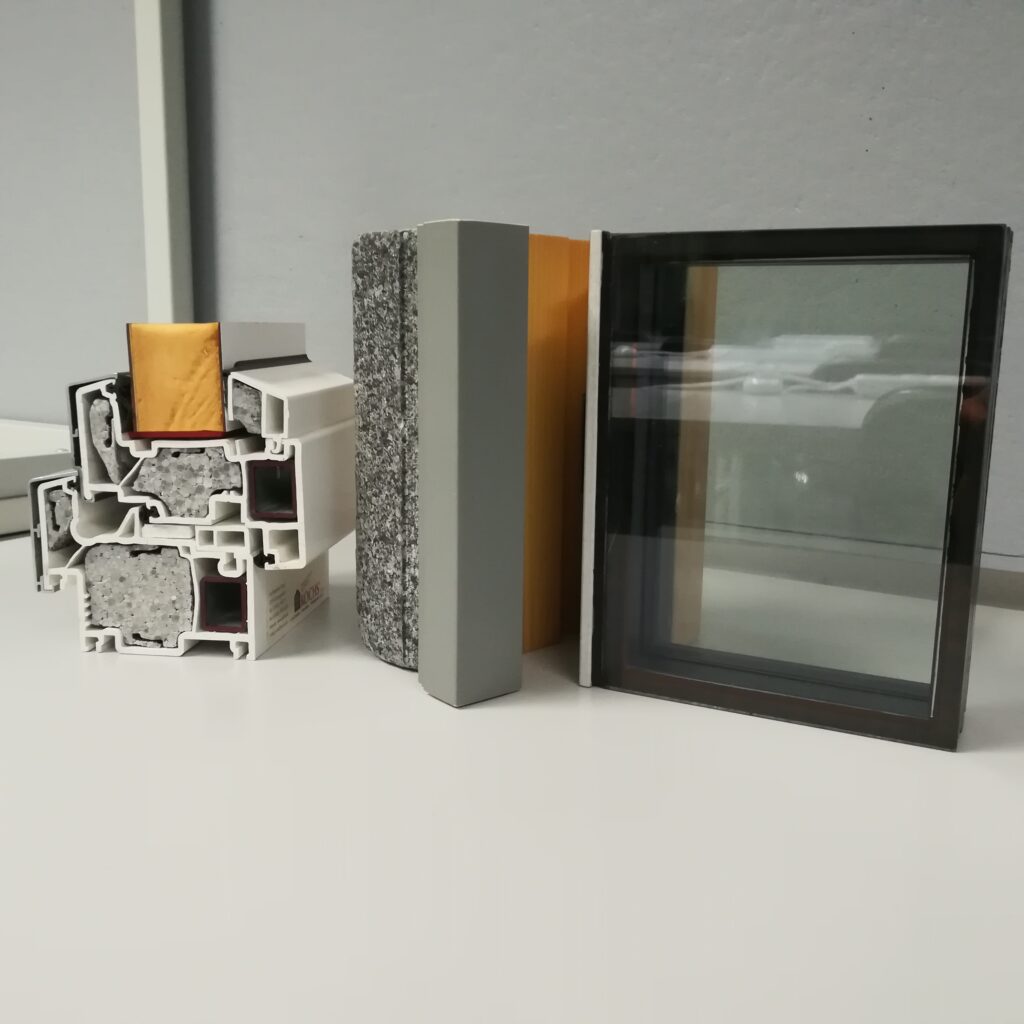
What I learned from this lesson, is that the way Passive House windows achieve this level of airtightness and insulation is all in the details. The spacer, coating, filling, and frame all have to be well engineered in order to get that U-value, as low as possible. Another important lesson that we learned, that would be reinforced by way of a real-world example the next morning, is the importance of proper installation.
Wednesday: Ventilation and Airtightness Testing
Wednesday was ventilation day, or as Carl and I joked, Berthold day. Our colleague, Dr. Berthold Kaufmann, was to be our lecturer from 9 am until 4 pm. Which is impressive considering all the other topics and their corresponding lectures up until this point were just a few hours at a time. Dr. Kaufmann is an excellent instructor though, and easily held our attention the entire time. Before beginning with the lecture, he pointed our attention to a neighbouring building. It may be difficult to see due to the underwhelming quality photo I was able to take with my phone, but the building has just had its windows replaced.
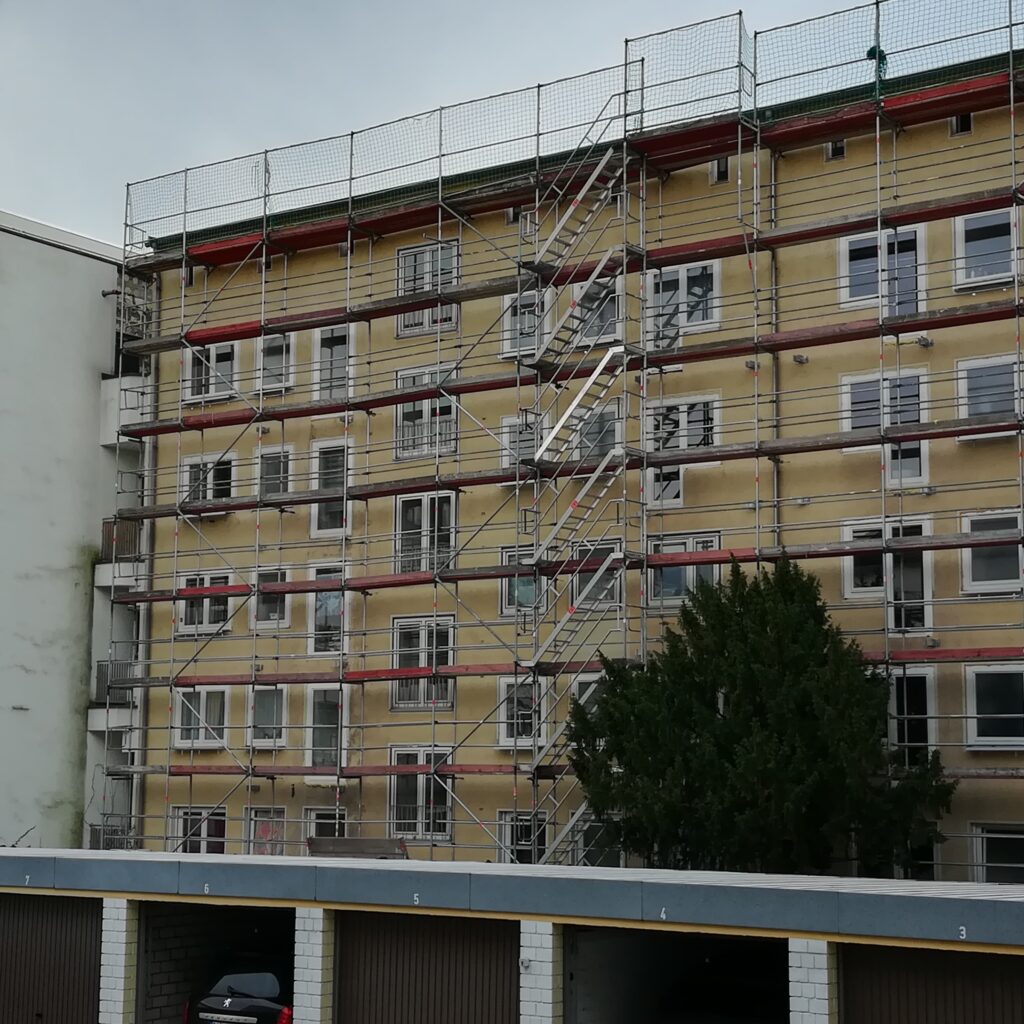
Rather than installing the windows the way one would in a Passive House, ensuring a continuous airtight and insulated layer, the decision was made here to simply slap some windows in, surround it with some spray foam, and call it a day. Berthold pointed out, that while that may work well for a while, mould would almost certainly begin to form in a year or two, as the spray foam slowly degrades, and air, and thus condensation, begins to make its way around the installed windows. I was continuously amazed at the way all of our lecturers were able to connect the lessons we were learning with everyday examples.
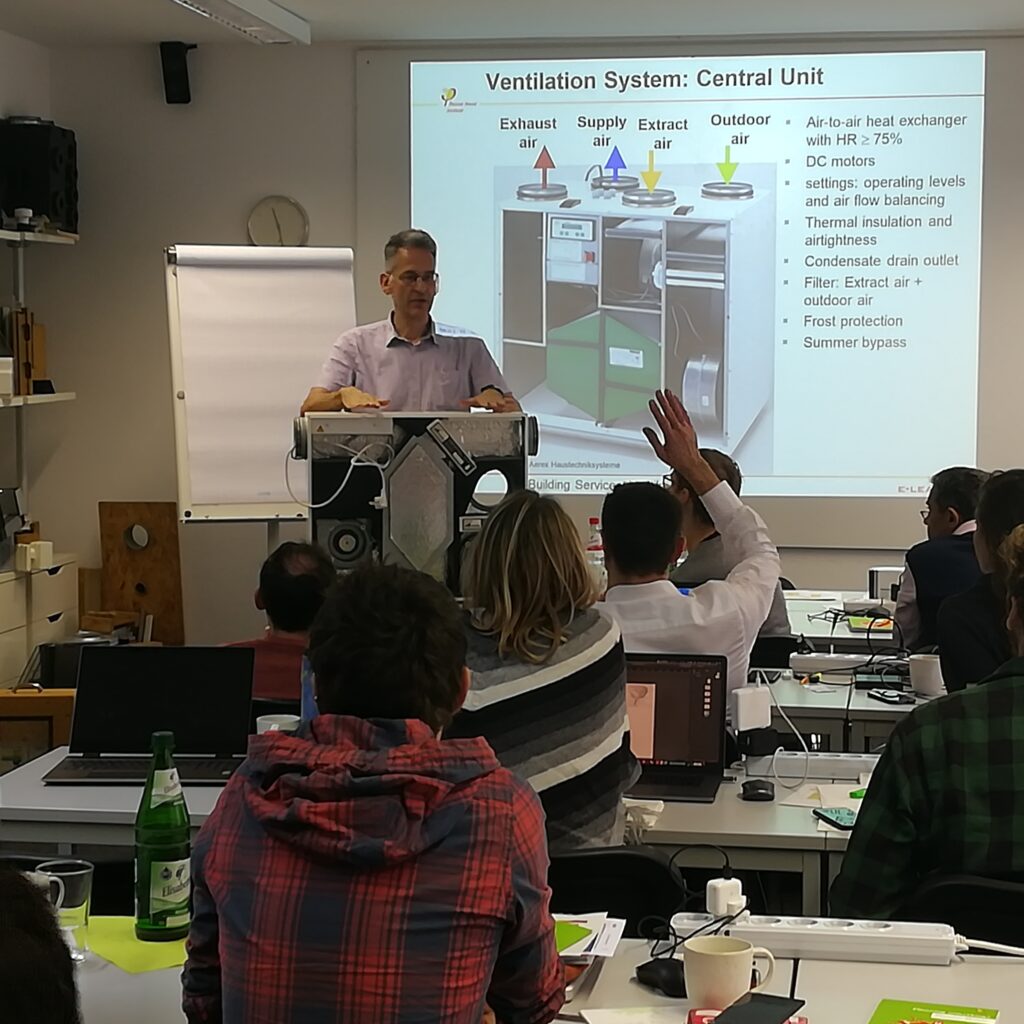
After discussing this real-world example for a time, we then began with the intended topic of the day – ventilation. The gist of the lecture is this: In order to both have significant energy savings and superior indoor air quality, you NEED some sort of ventilation system. We went over the process of designing the ventilation system; looking at airflow rates, typical extract and supply air zones, types of heat exchangers, and duct design among many other things.
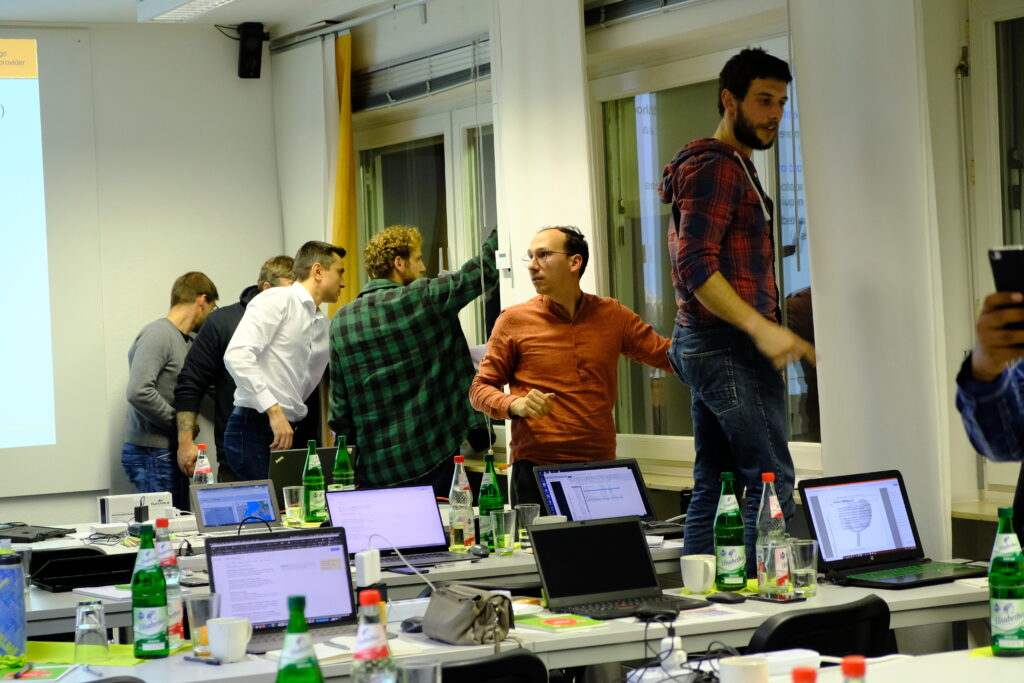
Later that day we learned about airtightness testing and thermal imaging, which are both experimental methods for examining a building. At the very end of the day, we even got to run through a blower door test of our own. As you can probably tell from the pictures below, it was quite exciting. We were all running around the room finding leakages and drafts as the relative pressure in the room dropped: I don’t quite remember what value we got as a result of the blower door test, but I imagine it was much worse than the 0.6 /h required for Passive House buildings.
Thursday: Heating, Cooling & Dehumidification
Heating and cooling & dehumidification were the two main topics on Thursday’s agenda. During this lecture, the different calculations for the Heating Load and Heating Demand were examined in more detail. Different methods for space heating and domestic hot water were also discussed at length.
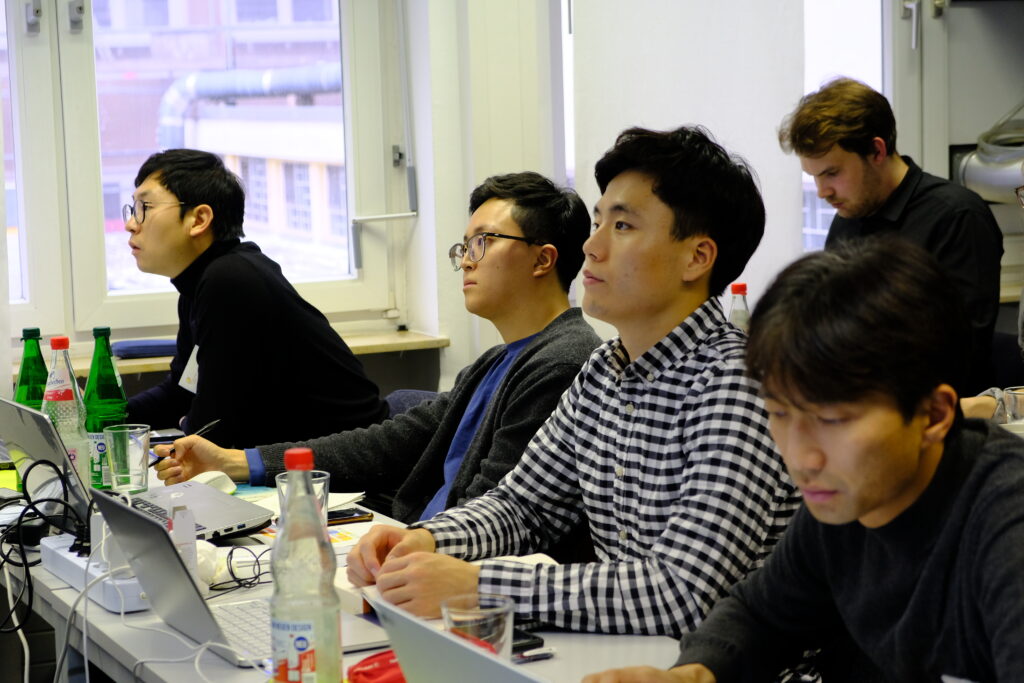
Cooling and dehumidification has been a hot topic in the energy efficient building sector as of late (yes- pun intended). According to the IEA, cooling is the fastest-growing energy end use in buildings. As such, it is vital for builders and designers to understand how to incorporate passive and active cooling strategies efficiently and effectively. Dehumidification must also go hand in hand with cooling, in order to maintain the superior comfort associated with Passive House.
Friday: Retrofits and Economics
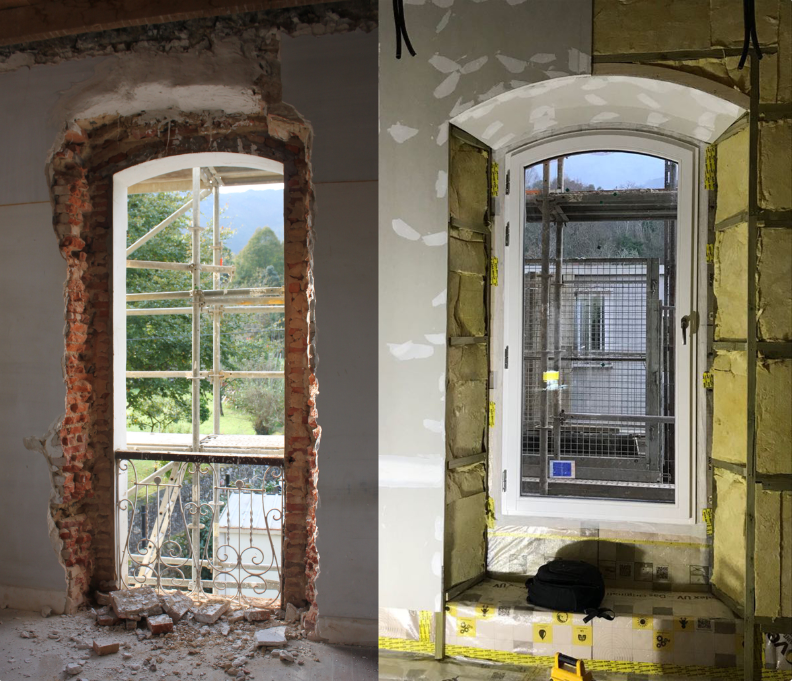
We began Friday by focusing on retrofits. For those of you that might not know, Passive House has developed a standard and certification exclusively for retrofits: The EnerPHit Standard. As part of this lecture, the EnerPHit standard was explained in depth. Additionally, typical problems encountered during retrofit projects, as well as their solutions, were detailed using real-world examples.
The latter half of the day was well spent discussing economics. Coming from an engineering background, I sometimes forget how other people look at the world. For the majority of people, money is the biggest motivator. Therefore, in order to convince people to invest in the Passive House standard, they need to feel assured that their investment will pay off in the long run.
Saturday: Excursion
In my opinion, Saturday was the most exciting day of the course. We got to see a real-life Passive House! The course happened to fall on the same weekend as the international Passive House Open Days event.
This is why we were all here. We want to see more houses like this one – with superior comfort and energy efficiency – built all around the world.
That being the case, there were a few nearby Passive House buildings that our group was able to visit. The one pictured below is a single-family home, designed and constructed by the homeowner. That same homeowner, the wonderful Mr.Dickert, was our tour guide for the viewing. It was such a valuable experience. There was not a single question about this project that Mr.Dickert wasn’t prepared to answer; which was amazing considering the number of questions we had!
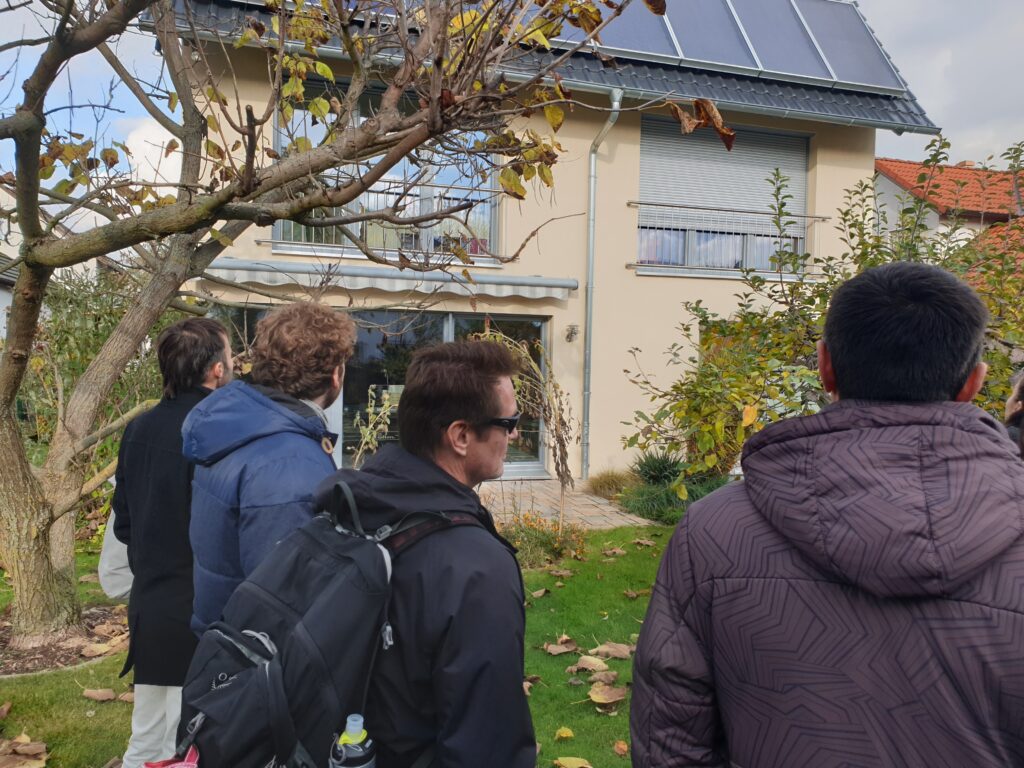
We also visited two other projects during our excursion; the world’s first Passive House, and a Passive House terraced house/townhouse. I think that seeing and experiencing the Passive House Standard in action really gave me and the rest of the group extra motivation: This is why we were all here! We want to see more houses like this one – with superior comfort and energy efficiency – built all around the world.
Monday & Tuesday: PHPP
Monday and Tuesday the following week was a crash course in The Passive House Planning Package (PHPP). As part of the full course, we were provided with a PHPP licence. Honestly, I thought I was ready…. I was not ready. PHPP is capable of so much and takes so many different variables into account. Thus, it is much more complex than you might initially think. Obviously, after over 15 hours becoming better acquainted with the program, I understand it better than before. But, just like any new skill, practice makes perfect. Therefore, I think the best way to learn PHPP is by applying it to an actual project. I’m sure I will get around to that one day. Once I feel more comfortable using PHPP, I can also visit one of the advanced PHPP lectures where you learn about all the other hidden things PHPP is capable of.
Wed, Thurs and Fri: Advanced Courses
The last three days of courses offered at the Passive House Institute were the additional expert-level workshops on topics such as 3D Data Models, PHPP for experts, and advanced thermal bridge calculations and modelling. I’m sure that if you already have some experience in Passive House design, these courses would be very helpful and informative. As it were though, in my grasshopper state, I did not feel very prepared. However, maybe I will look into taking them next year or during the 24th international Passive House Conference. Or maybe I could look into the many iPHA webinar courses (shameless plug 😉) being offered throughout the year.
In conclusion (tldr)…
I found the overall experience of the Consultant/Designer course offered by the Passive House Institute to be equal parts entertaining and informative. I was amazed at how thoroughly each topic was discussed. The lecturers were also all very knowledgeable and engaged. 10/10 would sit through again.
As a side note: I think that it was difficult to absorb all of the information provided in the time given. Luckily, for those participants interested in taking the Passive House Designer/Consultant exam, there are a few weeks between the course and the exam itself. Additionally, we were provided with all of the notes and exercise material covered during the class. The slides are something that I will continue to look back on throughout my future career.
Do you have any questions about the Designer/Consultant course that you would like to see answered? Or did you partake in one of the other Designer/Consultant courses around the world? Leave us a comment below! 👇


 Carl supports our international communication activities and is the point of contact for administrative enquiries.